

Pinsa (most often called Pinsa Romana) has quietly become one of the most interesting bread-to-topping vehicles on the modern pizza scene: an oblong, airy, crackly-crusted flatbread with a tender, digestible crumb and a bright personality that suits both classic and adventurous toppings. Below I’ll walk you through its history, why pinsa is growing in popularity, and give three complete recipes — including a detailed dough you can use for any pinsa.
A short history (what is pinsa and where it came from)
Pinsa’s story is part legend, part culinary revival. Modern Pinsa Romana is presented as a reinterpretation of ancient flatbreads that were made in and around Rome: rustic focacce or “schiacciatine” made from mixes of cereals (millet, barley, spelt) and cooked on a hearth. In the last few decades Italian bakers and restaurateurs resurrected and refined that idea into the pinsa we eat today — using a specific blend of flours and long, controlled fermentation to create its signature texture.
What makes pinsa a distinct product (not just another shape of pizza) is that the modern recipe deliberately departs from classic Neapolitan or Roman pizza methods: it blends multiple flours (commonly wheat with rice and/or soy or other grains), uses much higher hydration, and undergoes a slow, cold fermentation that produces an open, cloud-like interior and a very crisp exterior. Those key differences drive both texture and digestibility.
Why pinsa is getting popular now
There are a few converging reasons pinsa has spread beyond Rome into the UK, US, and elsewhere:
Texture and mouthfeel: the dough’s long fermentation plus blend of flours produces a lighter, airier crumb and ultra-crispy exterior — a contrast many people prefer to dense traditional pizza crusts. Digestibility and marketing: the lower gluten content (from mixed flours), long fermentation, and “lighter” feel make pinsa attractive to diners who want something less heavy than a Neapolitan pie. Versatility and shareability: the oval shape and slightly thicker rim make pinsa ideal for sharing and for creative toppings, which restaurants use to stand out. Restaurant and retail push: a wave of pinsa-specialty restaurants, frozen and par-baked retail offerings, and press coverage has introduced pinsa to new cities in the 2010s and 2020s.
How to cook pinsa at home (short primer)
Commercial pinsa ovens hit very high temperatures and use specific stones or conveyor systems, but you can get excellent results at home with a hot oven and a baking steel or stone. Preheat the oven as hot as it will go (500–550°F / 260–290°C) with your steel or stone in place, and bake pinsa quickly (typically 6–10 minutes depending on topping load). Using a very hot surface and thinly spread dough helps create the classic exterior crunch and light interior.
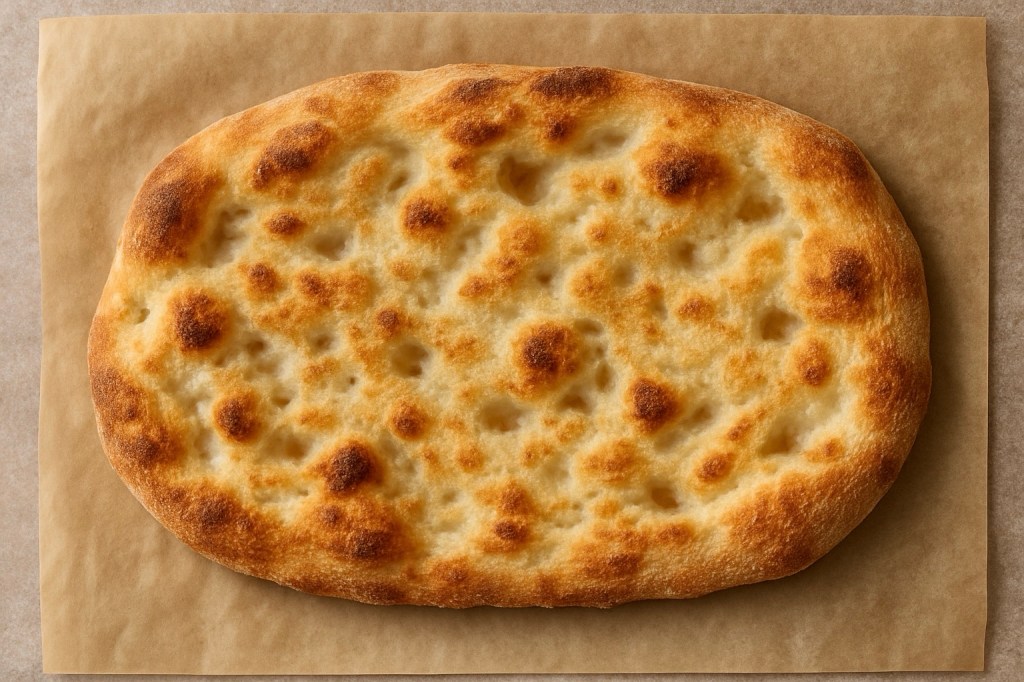
Classic Pinsa Romana dough (base recipe)
This is the slow-fermented dough that yields the airy, crispy pinsa. It makes four medium oval pinsas (about 10–12”/25–30 cm each).
Ingredients
500 g “00” or strong bread flour (you can substitute 350 g 00 + 100 g rice flour + 50 g soy or spelt flour for a closer-to-authentic blend) (about 4 cups total).
380–425 g water (76–85% hydration) — start at 380 g and add up to 425 g depending on flour absorption (about 1 2/3 – 1 3/4 cups).
10 g fine sea salt (about 2 tsp)
3 g active dry yeast (about 1 tsp) or 6 g fresh yeast
20 g extra-virgin olive oil (1 1/2 tbsp) — optional, adds flavor
Method (timeline: ~48–72 hours to develop flavor)
Autolyse: In a large bowl, mix flour(s) and 350 g of the water until there’s no dry flour. Cover and rest 30–60 minutes.
Add yeast & salt: Dissolve yeast in remaining water (25–75 g) and add to the dough together with salt and olive oil. Mix until combined — dough will be very sticky.
Stretch & fold: Over the next 2 hours, perform 3 sets of stretch-and-folds (every 30–40 minutes) to build structure. Keep the dough in a covered bowl.
Bulk fermentation (cold): Transfer to the fridge for slow fermentation for 24–72 hours. Longer = more flavor and better digestibility.
Divide and rest: When ready to bake, gently turn dough onto a floured surface, divide into 4 pieces, shape loosely into ovals, cover and rest 1–2 hours at room temp (or 4–6 hours refrigerated).
Shape: On parchment (or well-floured peel), gently stretch each piece into an oval (~25–30 cm) leaving a slightly thicker edge. Don’t overwork — you want to keep the gas.
Top & bake: Add scant sauce/toppings (see below) and bake on a blazing hot steel/stone at max oven temp for 6–10 minutes, or until edges are blistered and crisp. (If you have a broiler, finish 1 minute under broiler for extra char.)
Cook’s notes: high hydration and minimal handling are key; overloading with toppings prevents the pinsa from crisping.
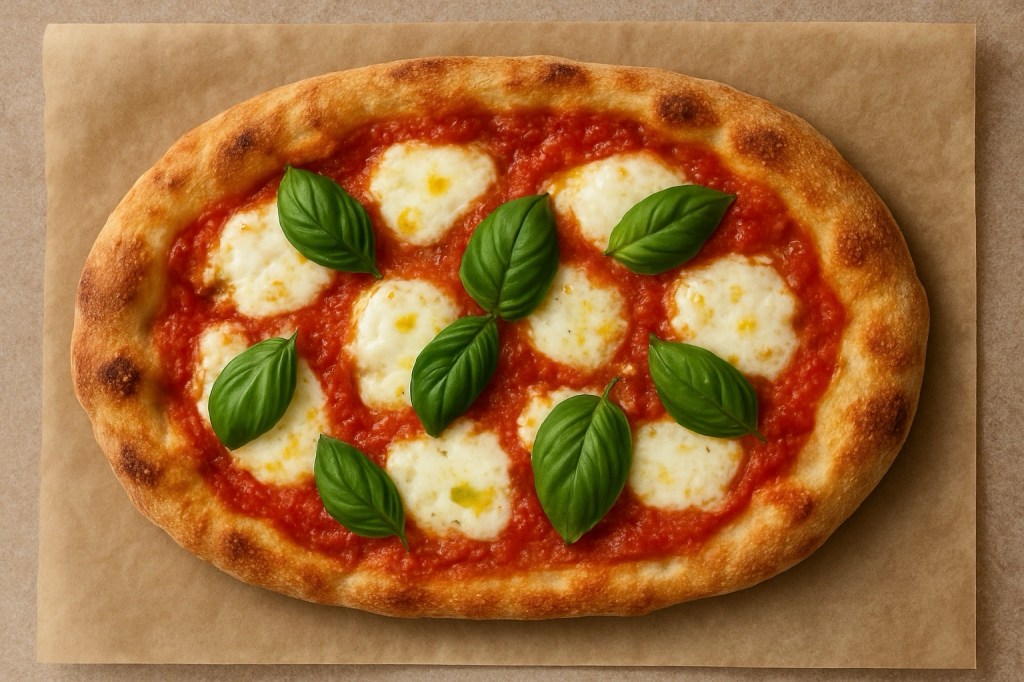
Classic Margherita Pinsa
Topping quantities are for one medium pinsa.
Ingredients
1 portion of pinsa dough (see Recipe 1), stretched into oval
80–100 g canned San Marzano tomato, crushed and seasoned with a pinch of salt (about 1/3 cup)
80–100 g fresh mozzarella, torn and well-drained (about 3–4 oz)
Fresh basil leaves
Drizzle of extra-virgin olive oil
Optional: thinly sliced Parmesan to finish
Method
Preheat oven/stone/steel to maximum. Spread a thin layer of seasoned crushed tomato over the stretched pinsa, leaving the rim. Distribute torn mozzarella sparingly (you want pockets of cheese, not a waterlogged topping). Bake 6–9 minutes (oven dependent) until crust is blistered and cheese melted. Finish with fresh basil and a drizzle of olive oil before serving.
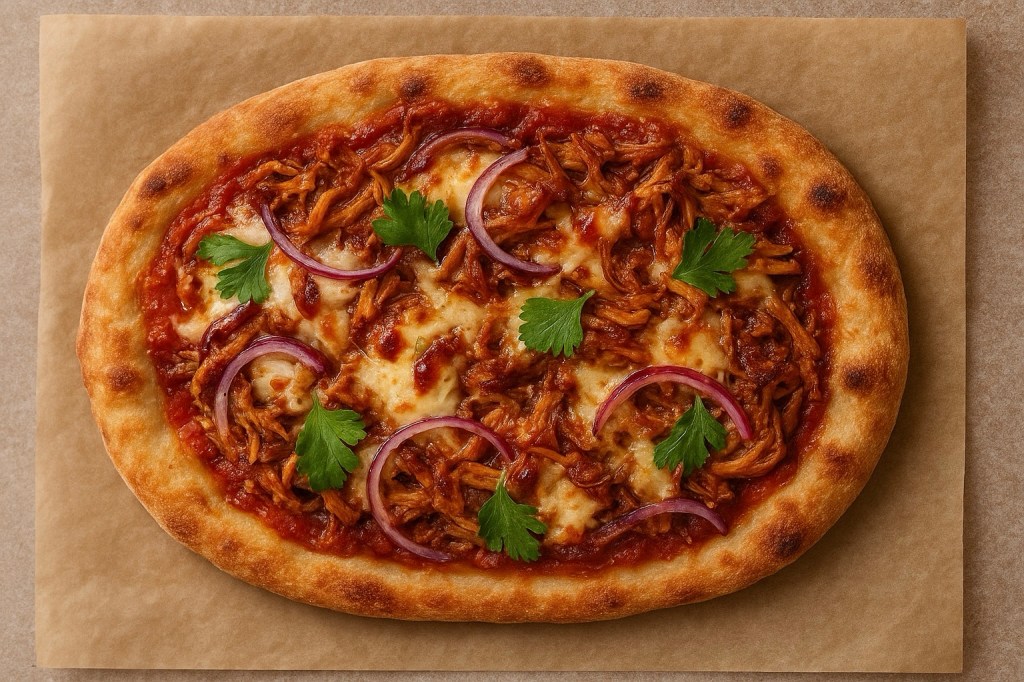
Smoky BBQ Pulled-Pork Pinsa (creative savory)
This is a crowd-pleaser — use leftover pulled pork or make a quick oven braise.
Ingredients (per pinsa)
1 portion of pinsa dough
100–140 g pulled pork (or shredded rotisserie chicken) tossed with 2–3 tbsp BBQ sauce
60 g shredded smoked mozzarella or provolone (about 1/2 cup)
1 small red onion, thinly sliced and quick-pickled (optional)
1 tbsp chopped fresh cilantro or parsley (finish) Drizzle of BBQ sauce to finish
Method
Preheat oven as above. Spread a very thin swipe of BBQ sauce on the stretched pinsa (too much sauce makes it soggy). Scatter shredded cheese, then the sauced pulled pork, then a little more cheese to help bind. Bake 7–10 minutes until edges are crisp and cheese has melted. Top with pickled onions and fresh cilantro; serve with an extra drizzle of BBQ sauce.
Final tips and serving ideas
Less is more with toppings. Pinsa’s magic is its crust; light topping lets the texture shine. Cold fermentation is essential. Give the dough time — 48–72 hours gives the best flavor and structure. Oval shape is traditional but not mandatory. The shape helps the crumb/cook balance, but flavor comes from technique, not geometry. Explore sweet pinsas. Try mascarpone, roasted pears, honey and toasted walnuts for a dessert pinsa.
Pinsa bridges ancient tradition and modern technique: a historical idea refined through contemporary milling and fermentation science into something both rustic and refined. Try the dough recipe first (it’s forgiving), then switch up toppings — pinsa rewards creativity. If you want, I can convert the dough to smaller single-serving sizes, produce a gluten-reduced variant, or give oven-specific timing for your range (electric conventional, convection, or pizza oven).
