

Sourdough bread, with its distinctive tang and chewy texture, has captivated bakers and bread enthusiasts for centuries. Unlike breads made with commercial yeast, sourdough relies on a natural fermentation process involving wild yeast and lactic acid bacteria. This journey from creating a sourdough starter to baking a beautifully crusty loaf is both an art and a science, requiring patience, practice, and a bit of intuition.
The Starter: Cultivating Wild Yeast
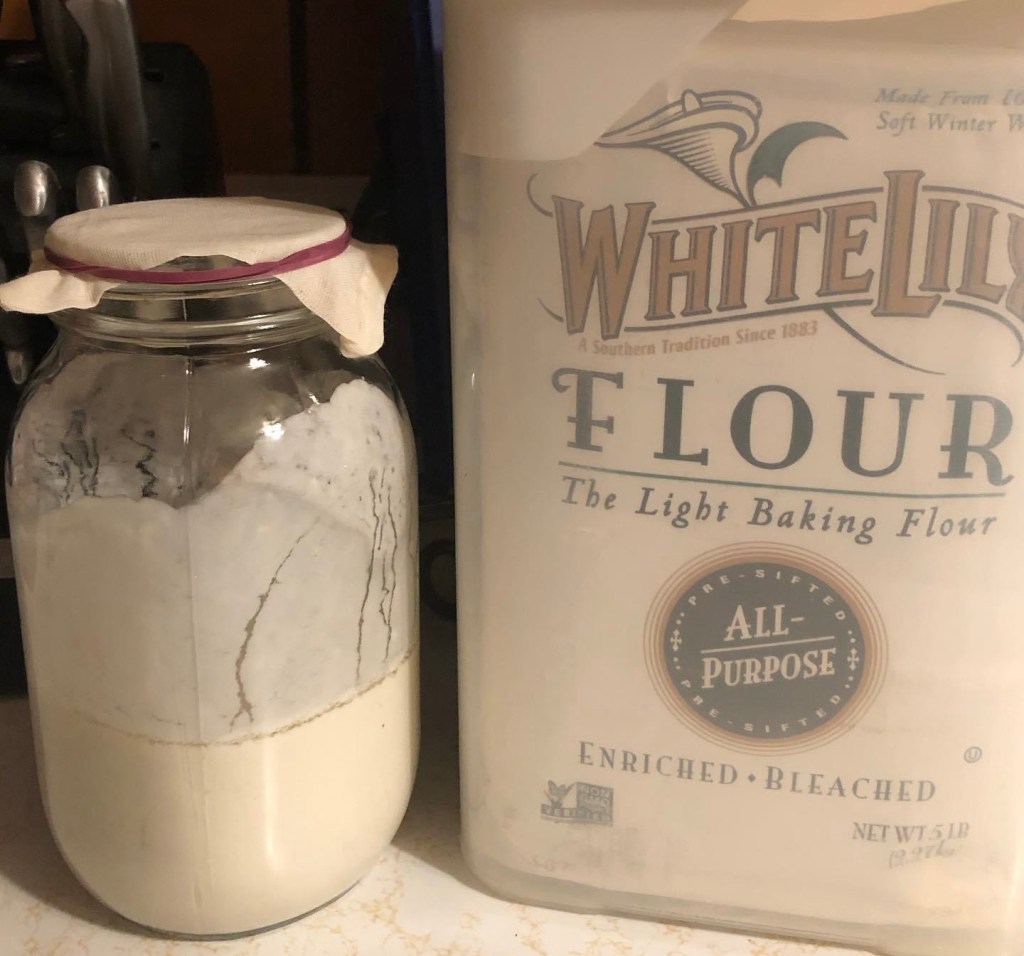
The sourdough journey begins with the creation of the starter—a living culture of flour and water teeming with wild yeast and bacteria. Here’s how to get started:
- Mixing the Ingredients: Combine equal parts of whole grain flour (such as rye or whole wheat) and water in a clean jar. The whole grain flour is rich in nutrients that help jumpstart the fermentation process.
- Feeding the Starter: Over the next 5-7 days, feed the starter with fresh flour and water daily. Discard half of the starter each time to maintain balance and prevent overgrowth. As the starter ferments, it will become bubbly and develop a pleasant, tangy aroma.
- Observing Activity: By the end of the first week, your starter should be active and ready for baking. It should double in size within 4-6 hours of feeding and have a slightly sour smell.
The Dough: Bringing Ingredients Together
With a robust starter ready, it’s time to make the dough. The basic ingredients for sourdough bread are simple: flour, water, salt, and the starter.
- Autolyse: Mix the flour and water together and let it sit for 30 minutes to an hour. This process, called autolyse, helps the flour absorb the water and begin developing gluten, resulting in better dough structure.
- Mixing: Add the active starter and salt to the autolysed dough. Mix until fully incorporated. The dough will be sticky and shaggy at this stage.
- Stretch and Fold: Over the next 3-4 hours, perform a series of stretch and fold techniques every 30 minutes. This helps develop the dough’s gluten structure without kneading. The dough will gradually become smoother and more elastic.
The Fermentation: Developing Flavor and Structure
Fermentation is where the magic happens. This stage allows the wild yeast and bacteria to leaven the dough and develop its unique flavor profile.
- Bulk Fermentation: After the final stretch and fold, let the dough rest and ferment at room temperature for several hours or until it has doubled in size. This can take anywhere from 4-8 hours depending on the room temperature and the strength of your starter.
- Shaping: Once the dough has doubled, gently turn it out onto a floured surface. Shape the dough into a round or oval loaf, being careful not to deflate it. Place the shaped dough into a proofing basket or a bowl lined with a floured cloth.
- Proofing: Let the shaped dough proof for another 1-2 hours at room temperature, or for an extended period (up to 24 hours) in the refrigerator. Cold proofing allows for a more complex flavor and easier handling of the dough.
The Bake: Transforming Dough to Bread
Baking is the final step, where the dough transforms into a beautifully risen, golden loaf.
- Preheating the Oven: Preheat your oven to 475°F (245°C) with a Dutch oven or baking stone inside. The high heat and enclosed environment help create the steam needed for a crispy crust.
- Scoring: Just before baking, score the top of the loaf with a sharp knife or razor blade. This allows the bread to expand properly during baking.
- Baking: Transfer the dough into the preheated Dutch oven or onto the baking stone. Bake with the lid on for the first 20 minutes, then remove the lid and bake for an additional 20-25 minutes until the crust is deep golden brown.
The journey from starter to freshly baked sourdough loaf is a rewarding process that requires patience, attention, and a bit of experimentation. Each step, from cultivating the starter to perfecting the bake, contributes to the final product’s unique flavor and texture. Whether you’re a novice baker or an experienced one, the satisfaction of pulling a perfectly crusty sourdough loaf from your oven is unparalleled. Happy baking!
Classic Sourdough Bread Recipe

Ingredients:
- Sourdough Starter:
- 50g whole grain flour (rye or whole wheat)
- 50g water
- Dough:
- 500g bread flour
- 350g water (70% hydration)
- 100g active sourdough starter
- 10g salt
Instructions:
- Create and Feed the Starter:
- Mix 50g whole grain flour and 50g water in a jar. Cover loosely and let it sit at room temperature.
- Feed the starter daily with 50g flour and 50g water, discarding half of the mixture each time, until it’s bubbly and doubles in size within 4-6 hours of feeding. This usually takes 5-7 days.
- Autolyse:
- In a large mixing bowl, combine 500g bread flour and 350g water. Mix until no dry flour remains.
- Cover the bowl with a damp towel and let it rest for 30 minutes to 1 hour. This helps hydrate the flour and begin gluten development.
- Mix the Dough:
- Add 100g of active sourdough starter to the autolysed dough. Mix thoroughly until the starter is fully incorporated.
- Add 10g salt and mix again until well combined. The dough will be sticky and shaggy.
- Stretch and Fold:
- Over the next 3-4 hours, perform a series of stretch and folds every 30 minutes. To do this, grab a portion of the dough, stretch it upwards, and fold it over the rest of the dough. Rotate the bowl and repeat this 3-4 times per session.
- Cover the dough with a damp towel between each stretch and fold session.
- Bulk Fermentation:
- After the final stretch and fold, cover the dough and let it ferment at room temperature for 4-8 hours, or until it has doubled in size.
- Shape the Dough:
- Gently turn the dough out onto a lightly floured surface. Shape it into a round or oval loaf, being careful not to deflate it.
- Place the shaped dough into a proofing basket or a bowl lined with a floured cloth, seam side up.
- Proofing:
- Let the dough proof at room temperature for 1-2 hours, or cover and refrigerate for up to 24 hours for a longer, cold proof.
- Preheat the Oven:
- Preheat your oven to 475°F (245°C) with a Dutch oven or baking stone inside.
- Score and Bake:
- Carefully transfer the proofed dough onto a piece of parchment paper or directly into the preheated Dutch oven. Score the top of the loaf with a sharp knife or razor blade.
- Cover with the lid and bake for 20 minutes. Remove the lid and bake for an additional 20-25 minutes until the crust is deep golden brown and the loaf sounds hollow when tapped on the bottom.
- Cool:
- Transfer the baked loaf to a wire rack and let it cool completely before slicing. This allows the crumb to set and enhances the flavor.
Tips for Success:
- Maintain the Starter: Keep your starter healthy by feeding it regularly, even when not baking. Store it in the refrigerator if baking less frequently.
- Hydration: Adjust the water amount based on your flour and environment. More hydration can result in a more open crumb but can be challenging to handle.
- Practice Patience: Sourdough baking is an art that improves with practice. Each loaf will teach you something new about your dough, starter, and baking process.
Enjoy your freshly baked sourdough bread with a pat of butter, a drizzle of olive oil, or simply on its own to savor the complex flavors developed through this natural fermentation process. Happy baking!
Gourmet Sourdough Bread Recipe

Ingredients:
- Sourdough Starter:
- 50g whole grain flour (rye or whole wheat)
- 50g water
- Dough:
- 450g bread flour
- 50g whole wheat flour
- 350g water (70% hydration)
- 100g active sourdough starter
- 10g salt
- 50g roasted garlic cloves, roughly chopped
- 50g kalamata olives, pitted and sliced
- 25g chopped fresh rosemary
Instructions:
- Create and Feed the Starter:
- Mix 50g whole grain flour and 50g water in a jar. Cover loosely and let it sit at room temperature.
- Feed the starter daily with 50g flour and 50g water, discarding half of the mixture each time, until it’s bubbly and doubles in size within 4-6 hours of feeding. This usually takes 5-7 days.
- Autolyse:
- In a large mixing bowl, combine 450g bread flour, 50g whole wheat flour, and 350g water. Mix until no dry flour remains.
- Cover the bowl with a damp towel and let it rest for 30 minutes to 1 hour. This helps hydrate the flour and begin gluten development.
- Mix the Dough:
- Add 100g of active sourdough starter to the autolysed dough. Mix thoroughly until the starter is fully incorporated.
- Add 10g salt and mix again until well combined. The dough will be sticky and shaggy.
- Incorporate Add-ins:
- Gently fold in the roasted garlic, kalamata olives, and fresh rosemary until evenly distributed throughout the dough.
- Stretch and Fold:
- Over the next 3-4 hours, perform a series of stretch and folds every 30 minutes. To do this, grab a portion of the dough, stretch it upwards, and fold it over the rest of the dough. Rotate the bowl and repeat this 3-4 times per session.
- Cover the dough with a damp towel between each stretch and fold session.
- Bulk Fermentation:
- After the final stretch and fold, cover the dough and let it ferment at room temperature for 4-8 hours, or until it has doubled in size.
- Shape the Dough:
- Gently turn the dough out onto a lightly floured surface. Shape it into a round or oval loaf, being careful not to deflate it.
- Place the shaped dough into a proofing basket or a bowl lined with a floured cloth, seam side up.
- Proofing:
- Let the dough proof at room temperature for 1-2 hours, or cover and refrigerate for up to 24 hours for a longer, cold proof.
- Preheat the Oven:
- Preheat your oven to 475°F (245°C) with a Dutch oven or baking stone inside.
- Score and Bake:
- Carefully transfer the proofed dough onto a piece of parchment paper or directly into the preheated Dutch oven. Score the top of the loaf with a sharp knife or razor blade.
- Cover with the lid and bake for 20 minutes. Remove the lid and bake for an additional 20-25 minutes until the crust is deep golden brown and the loaf sounds hollow when tapped on the bottom.
- Cool:
- Transfer the baked loaf to a wire rack and let it cool completely before slicing. This allows the crumb to set and enhances the flavor.
Tips for Success:
- Maintain the Starter: Keep your starter healthy by feeding it regularly, even when not baking. Store it in the refrigerator if baking less frequently.
- Hydration: Adjust the water amount based on your flour and environment. More hydration can result in a more open crumb but can be challenging to handle.
- Add-in Variety: Experiment with other gourmet ingredients like sun-dried tomatoes, caramelized onions, or different herbs to create unique flavor profiles.
Enjoy your gourmet sourdough bread with a variety of toppings or simply on its own to savor the rich, complex flavors and textures. Happy baking!
